

 By Sofier
Landscape edging installation begins with alignment and the adjoining surface levels. plastic landscape edging rolls should be fixed through the selected product's accepted arrangement. A tidy temporary line is not enough if the supports and joints are not ready for soil placement and routine maintenance.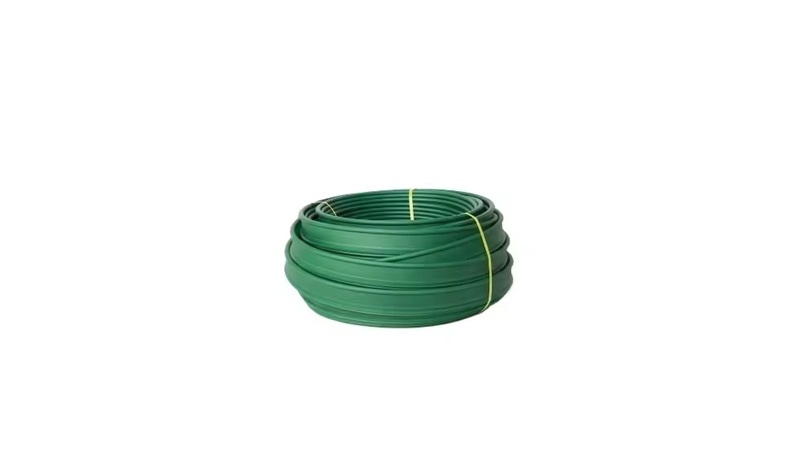
For interlocking landscape borders, connectors and section direction require their own checks. This article provides installation hold points while leaving exact fixing intervals and forming limits to the accepted product and landscape details.
Mark fixed references
Set endpoints, corners and curve references before cutting material. Confirm the line with the project team. Keep openings and access routes visible. A layout approved after all sections are buried can be expensive to correct, so alignment should be an early inspection.
Prepare support and levels
Use the specified receiving surface or trench detail. Check the installed position against adjacent finished levels. Do not assume the full section height should remain visible. Resolve uneven support before fixing rather than expecting backfill to hold a poorly seated edge in place.
Inspect joints and fixings
Follow the accepted connectors and fastening method. Check cuts and corners for the specified finish. Include required movement provisions where defined. An improvised joint should be reviewed before concealment, not accepted solely because it holds the line temporarily.
Place adjacent materials carefully
Maintain alignment while soil, media or path materials are installed. Protect the visible finish and any required clearances. Inspect the first completed length to identify displacement or handling issues before repeating the method around the site.
Record the completed border
Check exposed height, line and access for maintenance. Retain the product description and any changes to the layout. Request Suneco New Materials' section and connection guidance before delivery so the crew installs the actual ordered model consistently.

Explore Geosynthetic Solutions
Join Suneco New Material Newsletter for product information on drainage, erosion control, reinforcement and landscaping.


