

 By Sofier
Concrete void former installation requires a pre-pour inspection that checks more than product count. PP concrete slab void formers should be placed using the accepted supports, connections and layout. Once concrete is placed, many details are no longer available for direct inspection.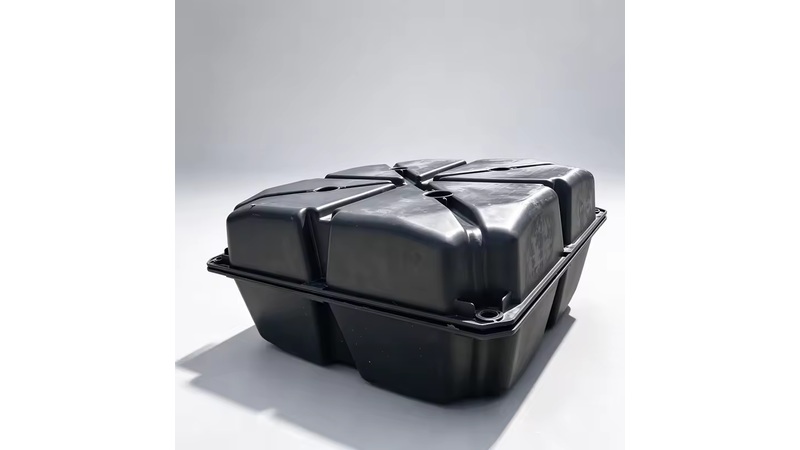
For the supplied concrete slab void formers, retain exact model instructions with the project's method. This checklist focuses on fixing and documentation without prescribing universal reinforcement, spacing or pouring limits for an unidentified slab system.
Confirm the drawing revision
Use the accepted layout and verify former type and quantity for the area being installed. Resolve discrepancies before placement. A delivery shortage is not a reason to relocate or omit components without the engineer's review.
Inspect supports and restraints
Check the approved assembly and fastening details while accessible. Record damage or replaced units. The site method should maintain the designed arrangement during subsequent work rather than rely on improvised restraints chosen just before the pour.
Check coordination with reinforcement
Verify the installation against the accepted reinforcement and opening details through the responsible inspection process. Do not move reinforcement to fit an unreviewed former. Identify clashes early enough for the project team to issue a coordinated solution.
Release the pre-pour hold point
Record the inspections and outstanding items required by the project's quality plan. Confirm the approved placing sequence and responsible supervision. Photographs alone should not replace the specified acceptance and release procedure.
Retain the installation record
Keep model identification, layout changes and corrective-work notes with the pour documentation. Ask Suneco New Materials for the actual former's assembly guidance before delivery. The handover record should show how the supplied components were installed within the engineered slab arrangement.

Explore Geosynthetic Solutions
Join Suneco New Material Newsletter for product information on drainage, erosion control, reinforcement and landscaping.


