

 By Sofier
Drainage-board installation depends on orientation, continuity and a defined outlet. HDPE dimple drainage boards should be placed according to the selected model and accepted section. Reversing a face or leaving a disconnected edge can create an arrangement different from the one reviewed at procurement.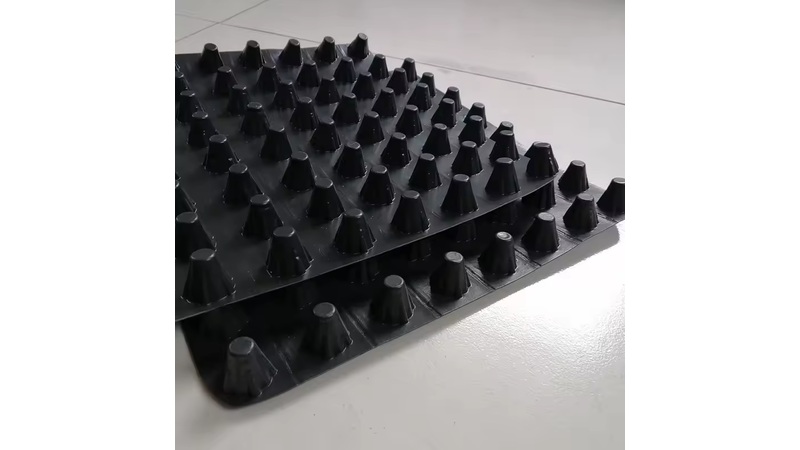
For geotextile composite drainage boards, fabric continuity also needs inspection before concealment. This installation checklist addresses practical hold points without assigning universal joint dimensions or fixing methods to every board and application.
Confirm the receiving construction
Check the adjacent waterproofing or supporting surface and required protection. Obtain release from the responsible contractor before placement. Do not use board installation to conceal an unresolved barrier defect. Record the accepted area and the layer details that the installer must maintain around corners and penetrations.
Make orientation unmistakable
Use the model-specific instructions to identify the correct face and flow direction. Demonstrate a sample area where the arrangement is unfamiliar. The presence of dimples alone does not tell the crew how a particular product is used. Keep the accepted orientation visible on the installation drawing.
Inspect core and filter joints
Follow the agreed details at board joints, cuts and boundaries. Check that water pathways remain connected and filters perform their specified role. Record repairs before subsequent layers cover them. Separate filter and core inspections where this makes the concealed details easier to verify.
Connect to the specified outlet
Inspect collectors, drain interfaces and any required bottom closures or edge treatments. Keep openings free of debris. A continuous board layer is incomplete if its water cannot reach the designed discharge point. Confirm inspection access remains available after backfill or landscaping.
Protect and record the work
Use the accepted cover-placement method and prevent uncontrolled damage from adjacent operations. Retain photographs of outlet and joint details with locations. Ask Suneco New Materials for the selected board's installation guidance before work starts, allowing the site checklist to reflect the actual product rather than a generic dimple-board image.

Explore Geosynthetic Solutions
Join Suneco New Material Newsletter for product information on drainage, erosion control, reinforcement and landscaping.


