

 By Sofier
Drainage cell installation is largely about maintaining a continuous route while keeping unwanted soil out of the drainage space. honeycomb drainage cells should connect as shown on the approved layer details. Before laying panels, the installer needs to know where the filter sits and how the drainage core reaches each outlet.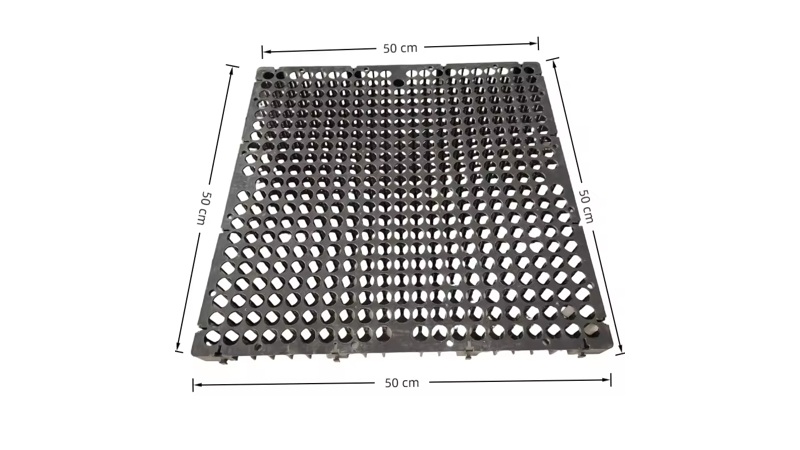
Around planted areas using roof garden drainage mats, media placement can conceal joints and access points quickly. Arrange inspection before that work begins. This checklist focuses on continuity, filter placement and coordination rather than prescribing one overlap distance or one panel orientation for every product.
Inspect the supporting layer
Check that the surface below the cells is ready and that any required waterproofing protection has been accepted. Remove debris that could interfere with seating or damage adjacent materials. Confirm levels and drain positions against the layout. Installing panels over an unresolved base defect simply makes that defect more difficult to inspect later.
Build connected drainage routes
Follow the selected model's connection and orientation instructions. Examine cut panels and pieces around penetrations rather than assuming that every remaining void drains. Keep outlets clear throughout installation. Where the layout includes separate areas, identify the connection between them or the independent outlet serving each area so that disconnected pockets are not buried.
Keep filter joints inspectable
Place the specified filter in its correct position and inspect its joints before media is added. Prevent fabric from slipping into a configuration that closes off the core or exposes it to soil. Record treatment at edges and around drains. Repairs should use the approved detail rather than an improvised patch that has not been checked for continuity.
Sequence landscape placement
Discuss how materials will be moved across the installation and how the cells will be protected. Restrict temporary stockpiles and equipment to the approved method. Maintain access to drains while media is spread. Check the first completed area before accelerating work across the roof or podium; it provides an opportunity to resolve connection and handling issues early.
Record the concealed work
Retain photographs of panel joints, filters and outlet connections with location references. Note any changes made to the layout and update the handover drawing. Ask Suneco New Materials for the model's installation guidance before work starts so that site checks can be based on a known product rather than a generic description of drainage cells.

Explore Geosynthetic Solutions
Join Suneco New Material Newsletter for product information on drainage, erosion control, reinforcement and landscaping.


